Underarm Wax Burn: Why It Happens During DIY Waxing & How to Treat It
TL;DR: How DIY Waxing Could Be Hurting Your Skin
Using wax that’s too hot is basically asking for disaster.
Proper technique matters more than you think.
Post-wax irritation is normal — blisters, peeling, and lasting tenderness are not.
Pay attention to your skin when waxing the same area repeatedly.
Trying to save money by waxing at home? We get it — it’s expensive out there! But the truth is, DIY methods can leave you with the worst kind of souvenir: an underarm wax burn.
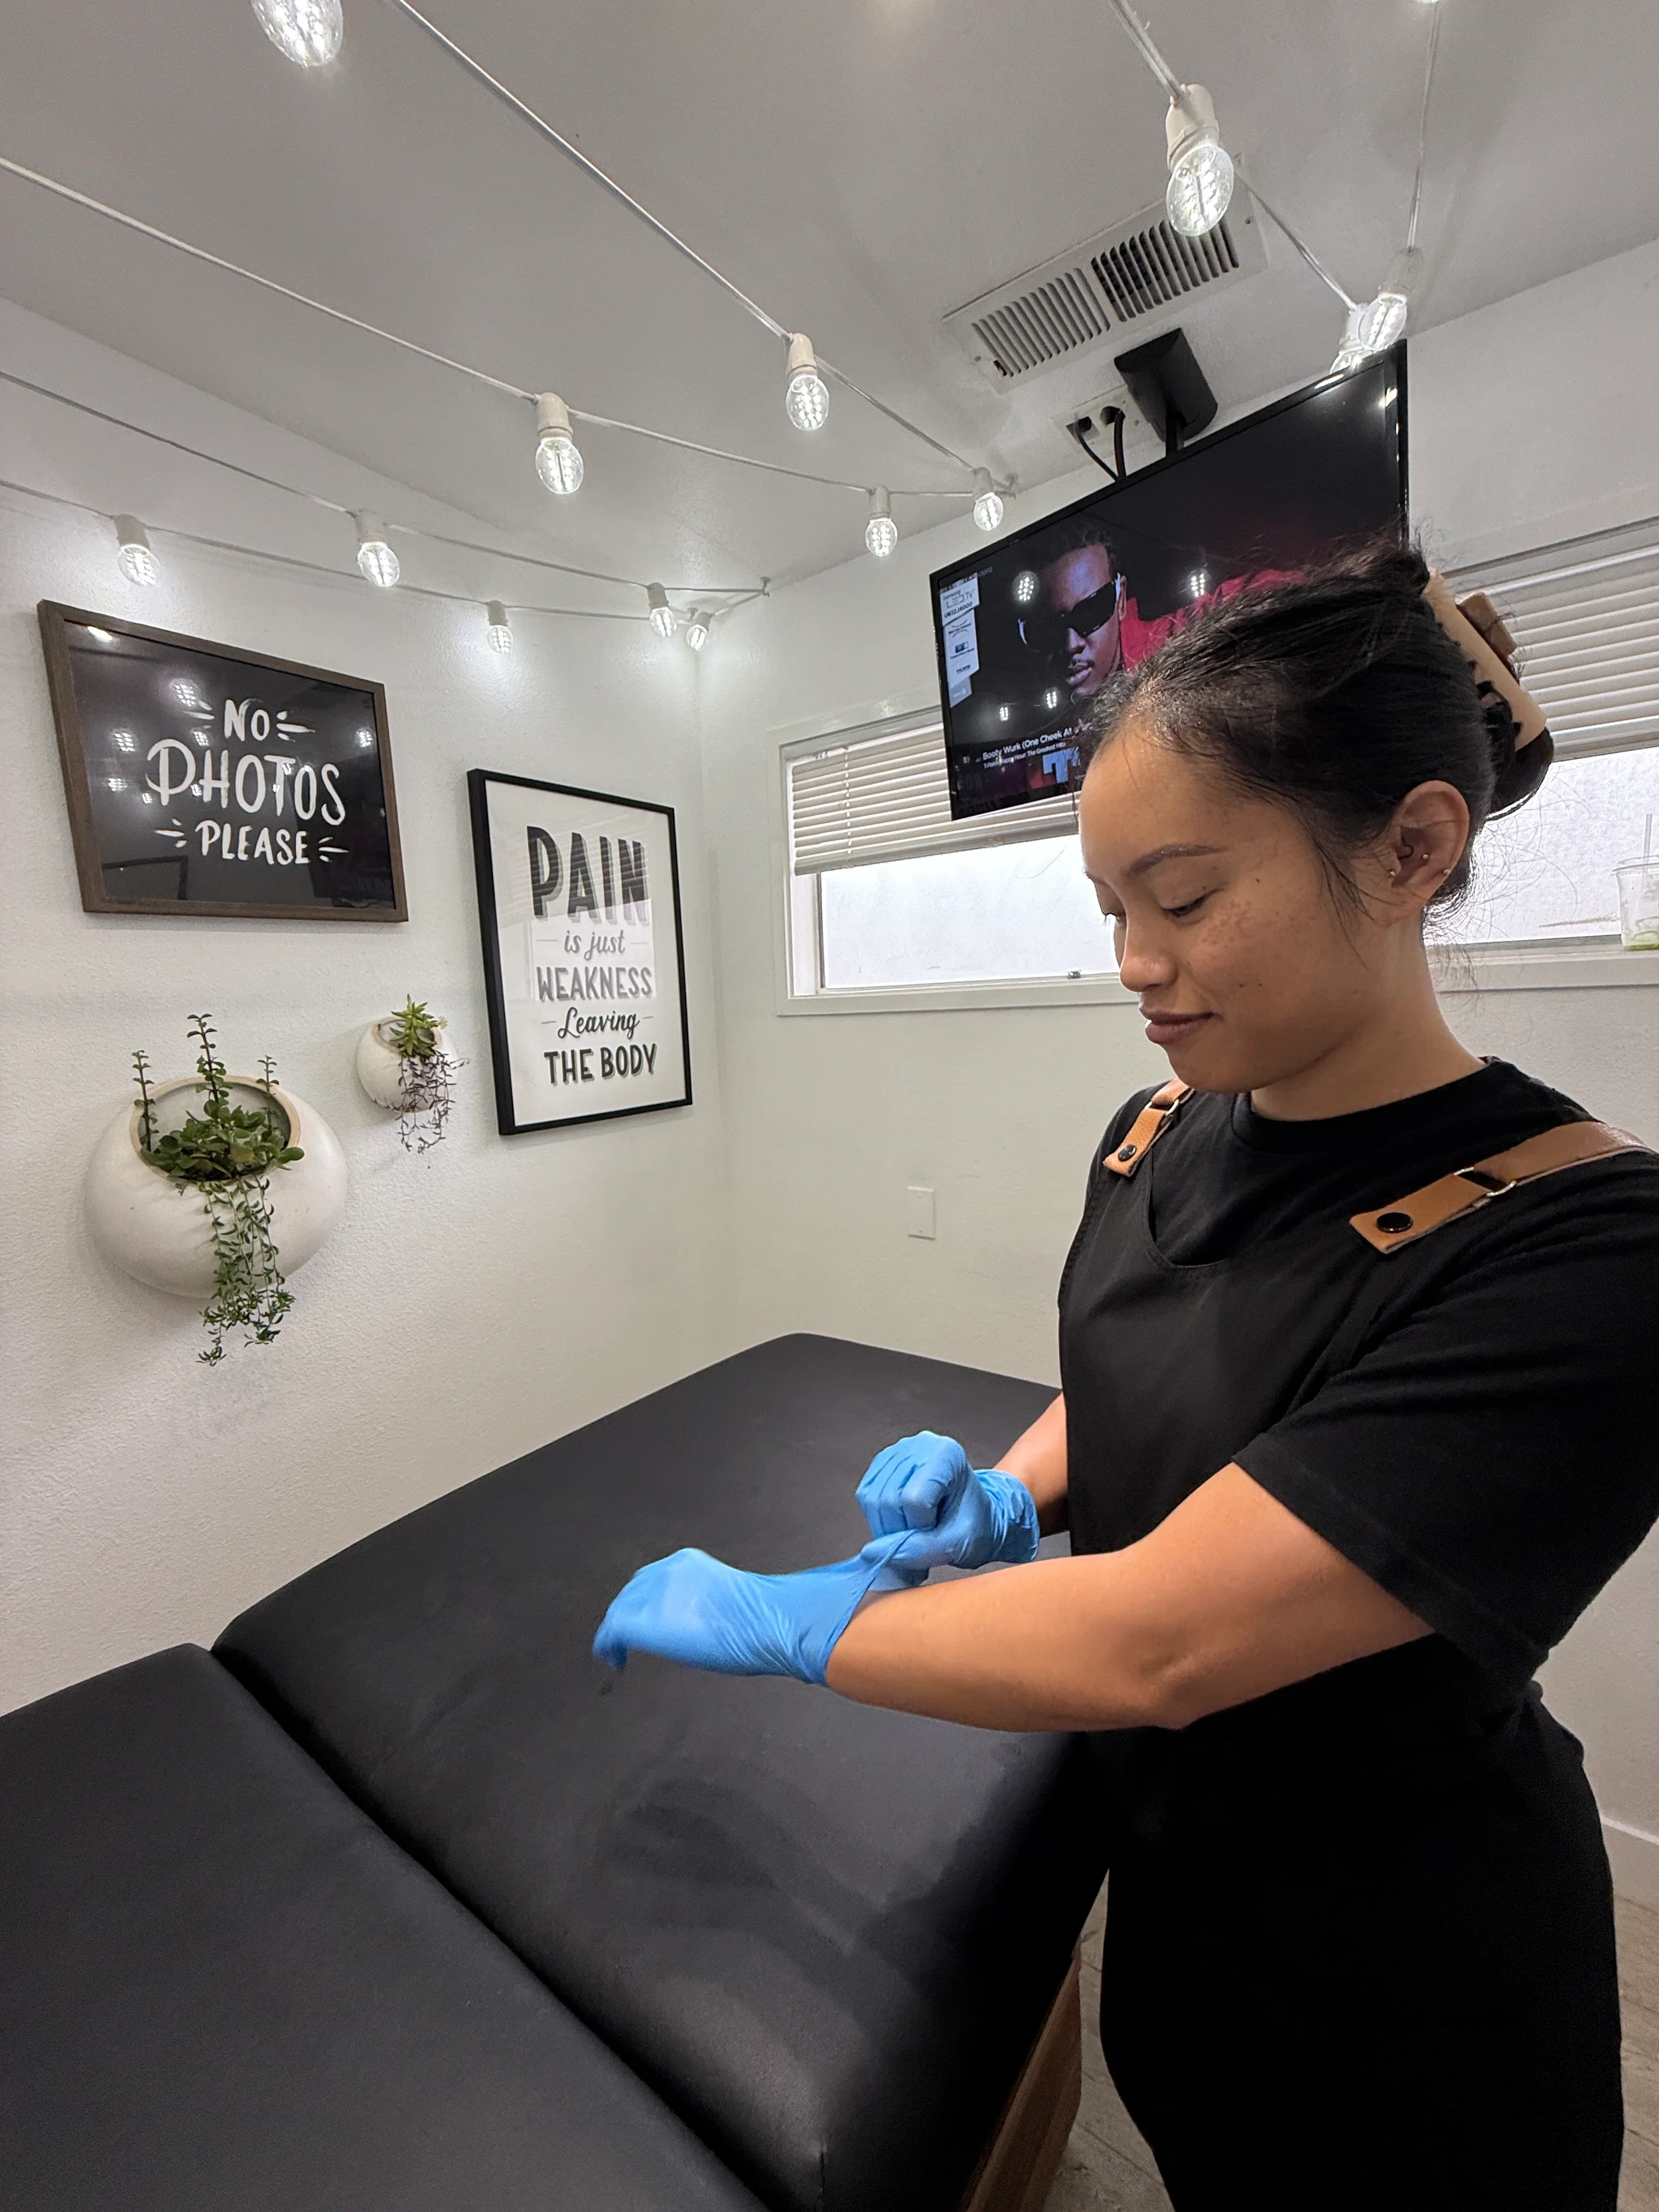
At Ted D Bare, we’ve seen plenty of DIY mishaps. With years of professional experience and speedy, skin-first techniques, we know exactly what causes them, and we’ll help you prevent them next time (because we’re cool like that).
What Is an Underarm Wax Burn, Anyway?
It’s not your bikini line, but underarm skin is still thin and sensitive. If it isn’t done right, DIY waxing can cause major issues, like inflammation, tenderness, and burns.
Post-waxing burns can look like:
Intense redness
Hot or stinging sensations
Small bumps or blisters
Peeling skin after a day or two
Common Mistakes When Learning How to Wax Underarms
Home waxing kits look easy on the box, right? In reality, technique matters, and trial and error can mean risking serious damage.
Common mistakes include:
Using Wax That’s Too Hot
Wax that feels warm in the container can still damage your skin! Always test it on your wrist first. If it feels hot there, it’s definitely too hot for underarms.
Skipping Skin Prep
Don’t even think of skipping this crucial step. Any residue on the skin prevents underarm wax from sticking properly, and you could accidentally rip off skin if you’re not careful.
Pulling the Strip the Wrong Direction
Wax should be removed quickly and close to the skin, or else you risk damage. The rule: pull parallel, instead of up.
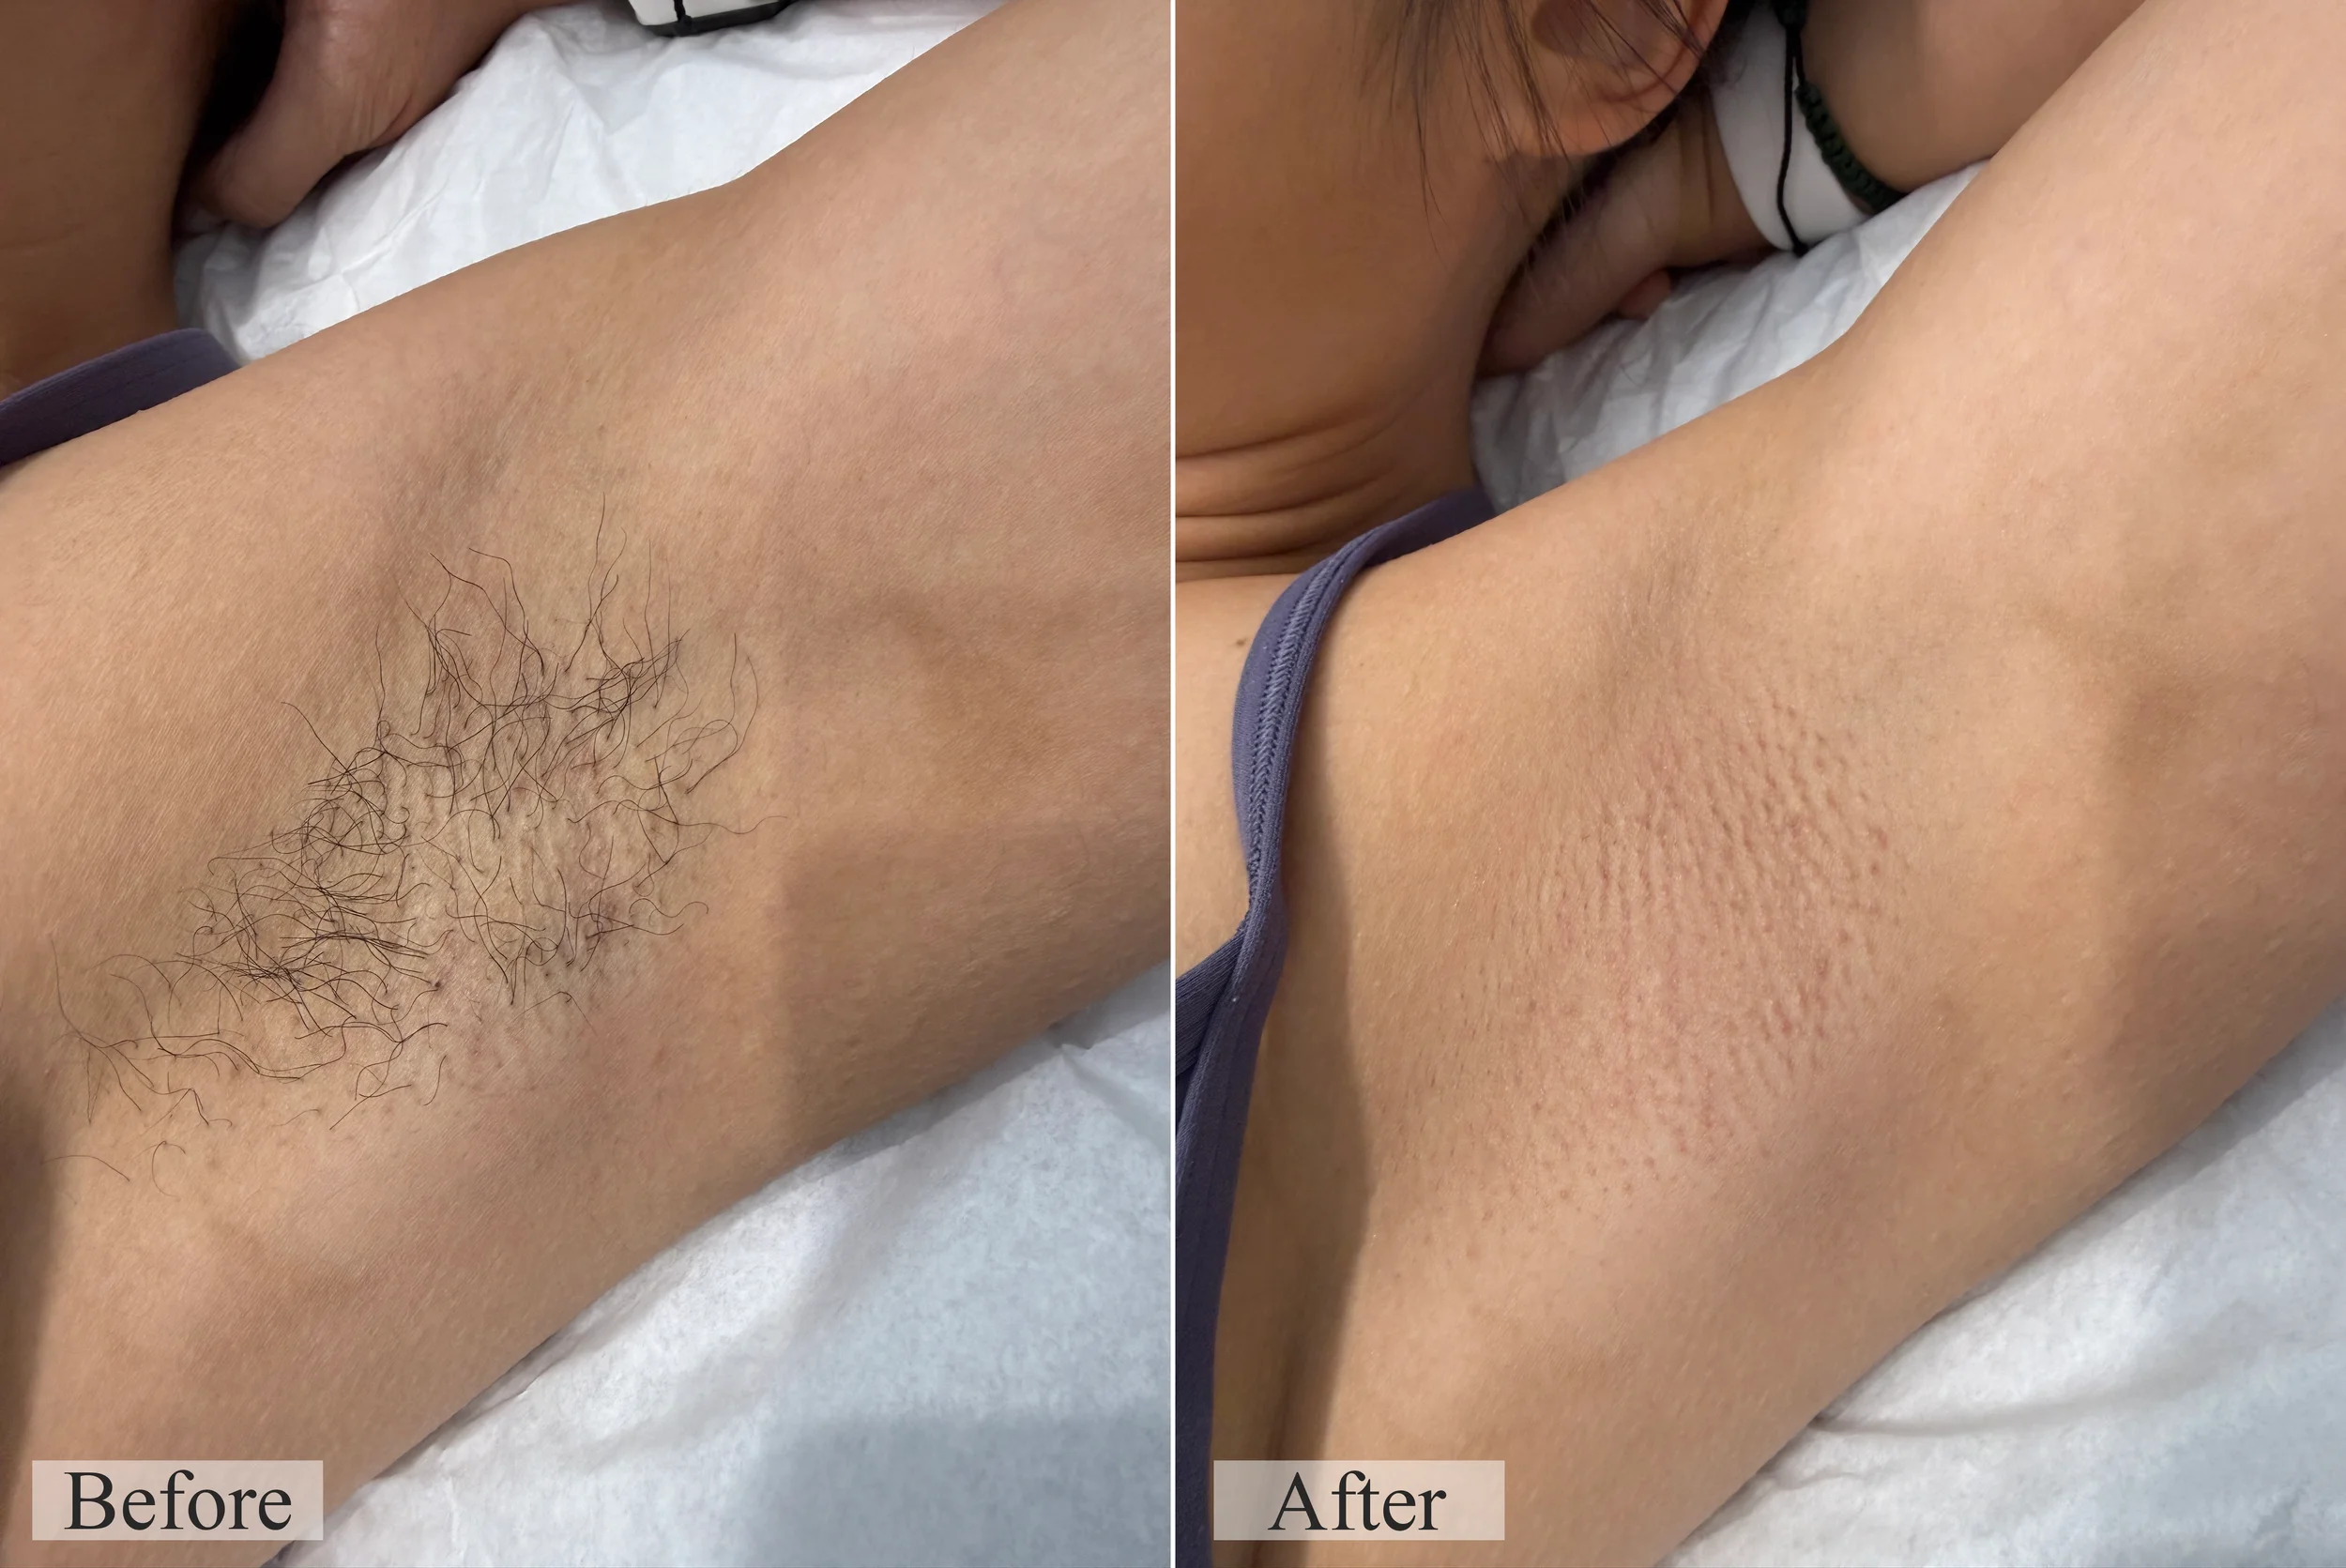
Re-waxing the Same Area
Not all waxes are created equal, and today's formulas can absolutely handle a second (or even a third) pass. The key is listening to your skin — soreness or sensitivity building mid-service is a cue to stop and tweeze the rest. But here's the thing: A good wax should not need three tries, and good technique should be able to remove most hairs on the first pass.
If you’re thinking of going pro, our Ted D Bare waxers train extensively on skin safety and proper technique to give you silky-smooth skin and peace of mind every step of the way.
Rash vs. Burns: What’s the Difference?
Okay, you just got waxed — how can you tell what’s a regular rash after waxing and what’s a burn?
Here’s a quick comparison:
Waxing Rash
Small bumps
Mild itching
Appears within hours
Burn
Intense redness
Burning sensation
Peeling or blistering
Most mild burns heal within just a few days, but if symptoms get worse, that’s your sign to put all hair removal on pause and focus on healing instead.
How to Treat a Burned Underarm After Waxing
Oops! You’ve burned your skin. Now what? Don’t stress — there are a few easy ways to speed up healing.
Keep Skin Cool
Soothe the area with a clean, damp cloth or ice pack for several minutes, and definitely avoid hot showers, saunas, or workouts for at least 24 hours.
Skip Heavy Products
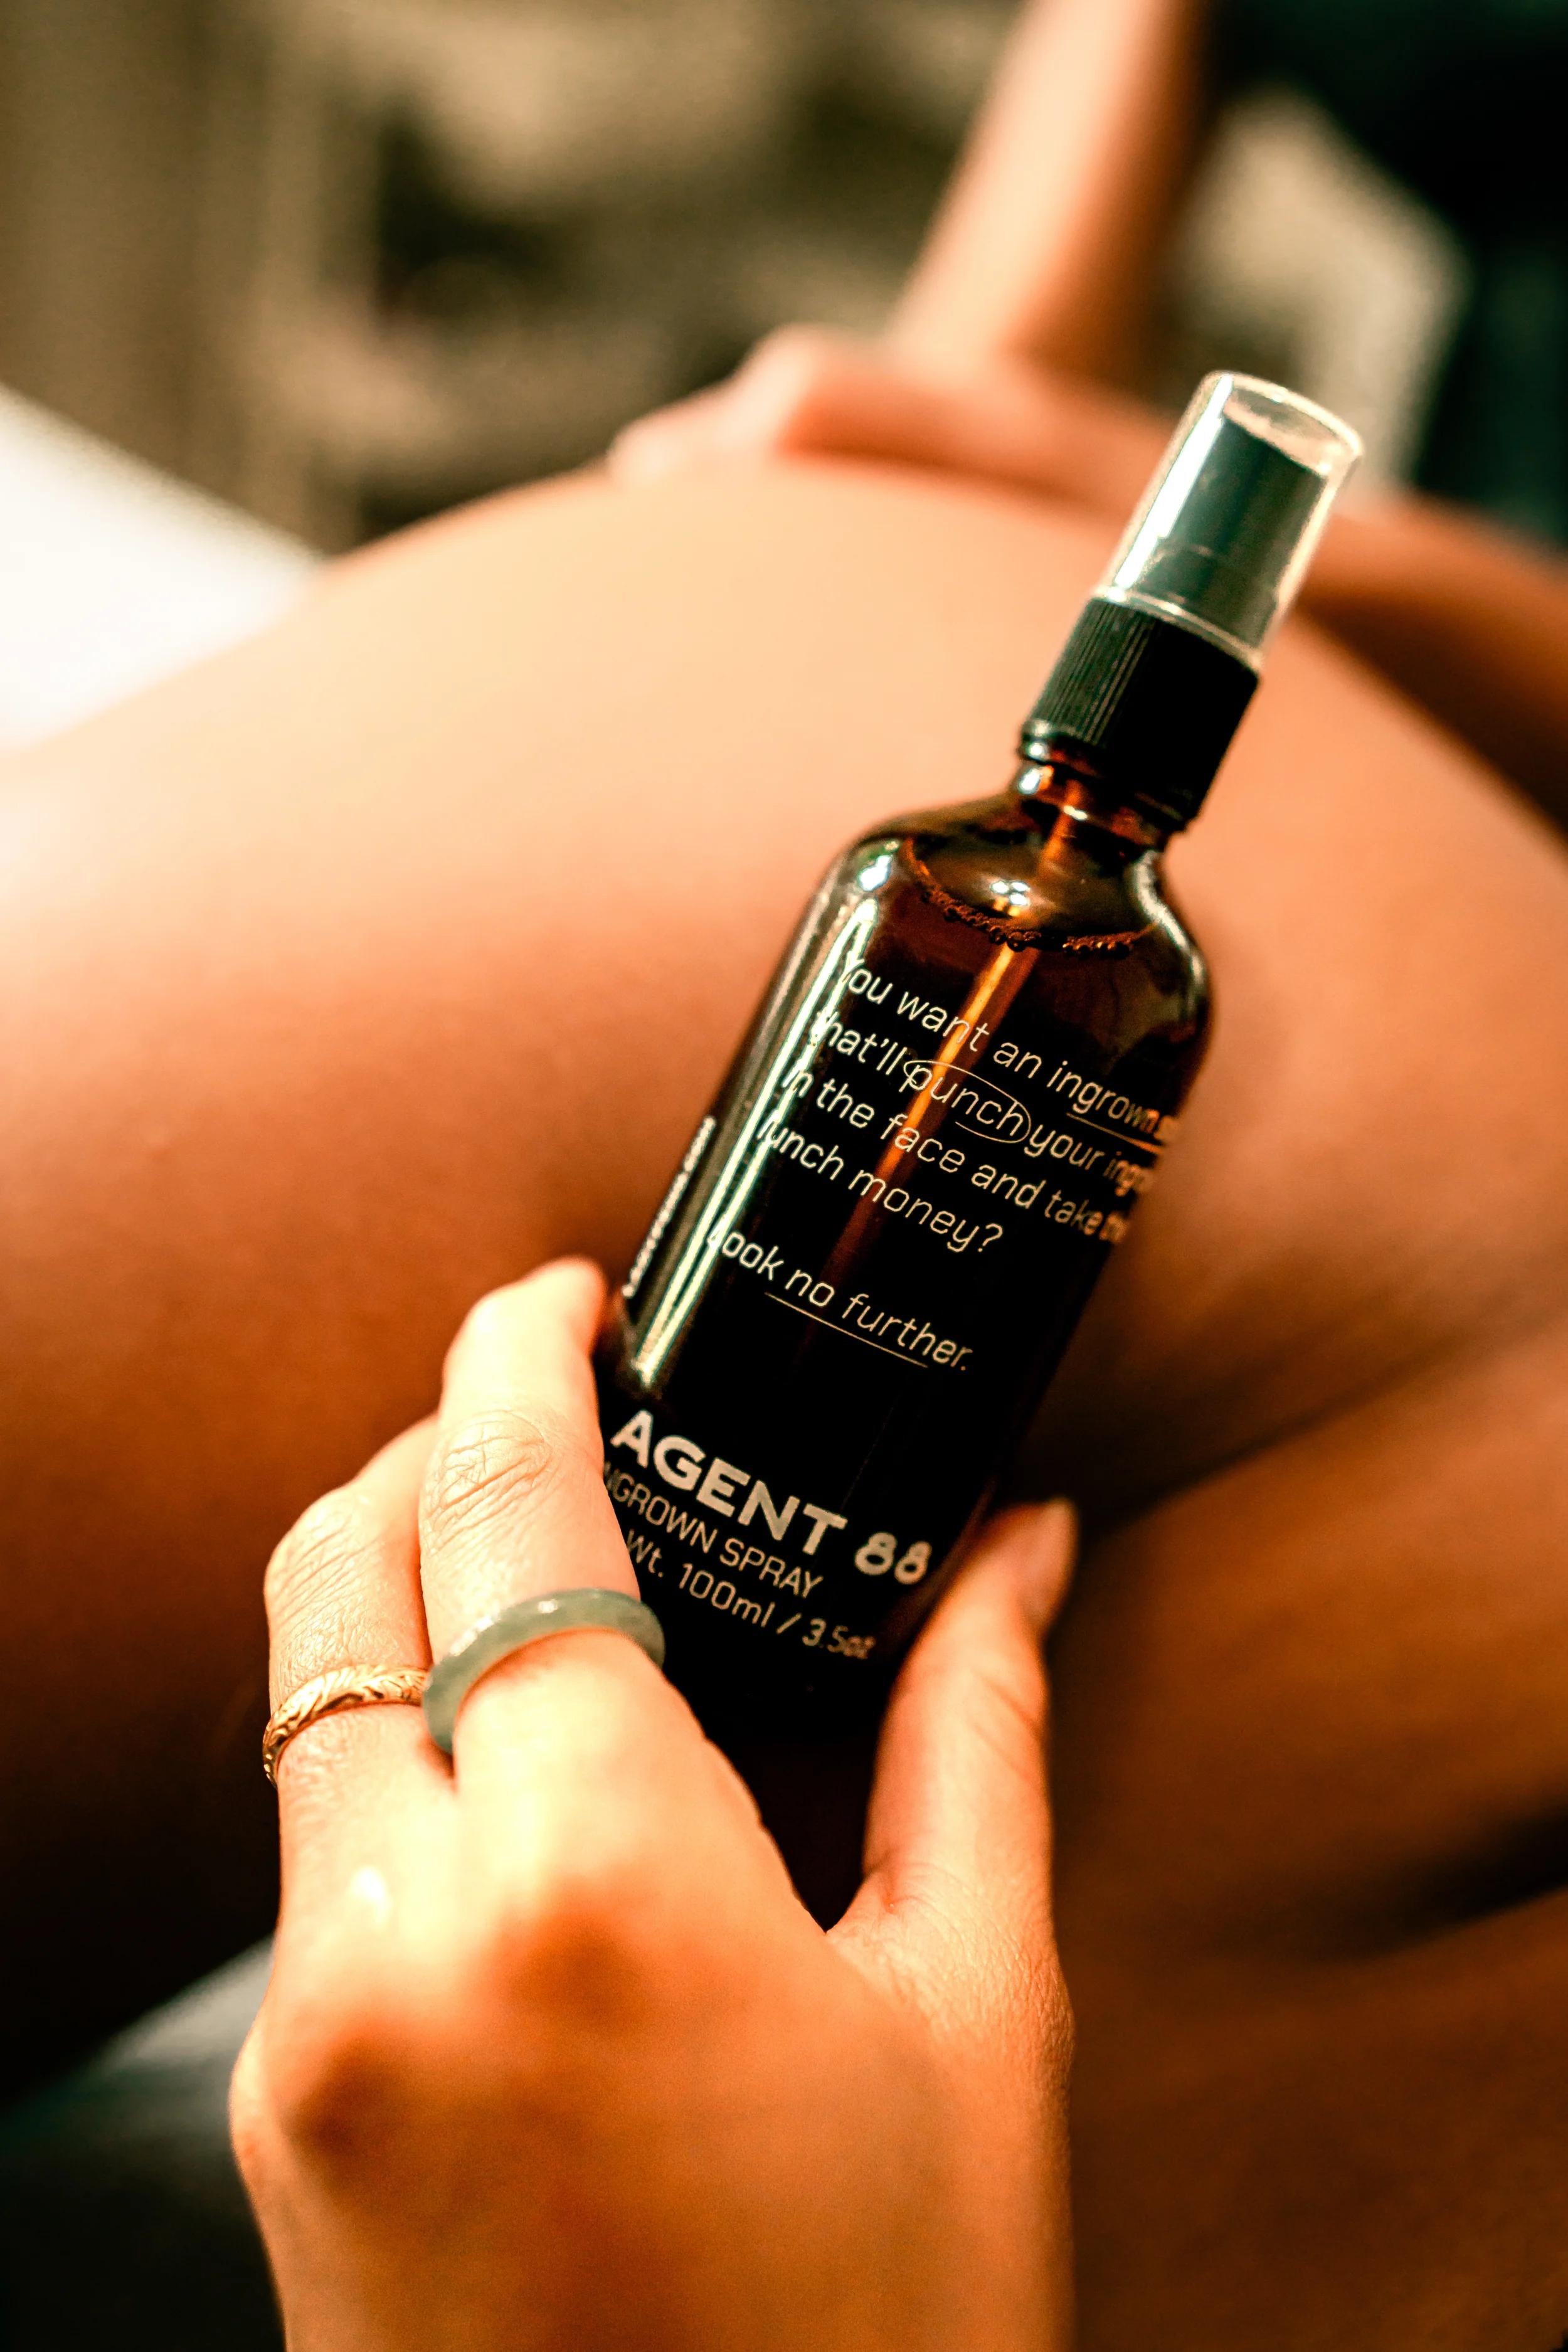
Perfumed lotions and deodorantscan sting, irritate, or delay healing, so give them a 24-hour break. Instead, use soothing products, like aloe vera gel, fragrance-free moisturizers, or our ingrown hair serum.
Wear Breathable Clothing
Reducing friction and sweating is key, so this isn’t the time for synthetic materials and tight outfits. Breezy cotton fabrics are the move.
Avoid Sun Exposure
Heat and UV rays can worsen inflammation, so skip the tanning bed and poolside hangs until your skin chills out.
TL;DR:
Mild burns heal within three to five days
Focus on calming your skin
Avoid putting ice directly on freshly-waxed skin
Skip tight clothing that traps heat and creates friction
Hold off on deodorant and perfumed lotions for 24 hours
How to Prevent Future Wax Burns
If you’re determined to wax at home, remember these rules before your next session:
Always test wax temperature first
Clean and dry the skin thoroughly
Pull strips parallel to the skin
Be careful when waxing the same area repeatedly
Follow proper after care for waxing
Unsure about your at-home technique? Skipping the DIY route entirely might save your skin, and our Ted D Bare speed waxers are here to help all your hair removal dreams come true.
FAQs About Underarm Waxing and Skin Irritation
Can I wax my underarms again after a burn?
Right away? Absolutely not. Waxing damaged skin can worsen the situation, so give it time to fully heal before trying again. When you do, follow proper underarm prep steps and techniques (or just book a speed waxing sesh with us).
Is it normal for skin to feel sensitive after waxing?
Totally! Mild sensitivity is completely normal. You may notice light redness, warmth, or slight tenderness for a few hours, but these usually calm down quickly. If irritation lasts more than a few days, it’s time to give your skin extra TLC.
Should I exfoliate after waxing my underarms?
Exfoliating too soon can make things worse. Wait about 48 hours before going in with a scrub, and make sure to use mild formulas designed for sensitive areas.
Final Thoughts: When It’s Time to Bring In The Pros
If DIY waxing keeps leaving you irritated, it may be time to book with the experts.
Our technicians:
Use professional-grade wax
Monitor wax temperature carefully
Prep and soothe skin before and after waxing
Customize techniques for sensitive areas like underarms
If you’re tired of guessing at home, check out our blog for more guides and insider aftercare tips. At Ted D Bare, we believe waxing should leave you feeling confident — not uncomfortable, so when you’re looking for waxing in San Jose, you know where to go. You’ll wonder why you didn’t just come to us in the first place.